
A multi-function studio space reveal with Flokk.

One of the things that swung our decision to move to this house was the potential to turn the biggest bedroom upstairs into a studio space. We had made peace with living in a small house and the discipline that went along with that and were happy in our little space. However when the opportunity came up to move to this house we jumped at it; mostly because of the potential studio space upstairs and room enough downstairs to host workshops. For the first few months, the studio was our dumping room, then it was hastily cleared (/things shoved in corners) to work in. Over the last 6 weeks we made the time to properly sort through it, and make it into the functional beautiful space we have been dreaming about.
My design brief (to myself!) was to create a functional yet beautiful space mixing warm vintage and sleek minimal. We kept the base colour pallet simple: Grey and White, with forest Green as the accent colour. I wanted to mix vintage furniture with contemporary White furniture, plants and art. Want to see what we have done? Prepare for many photo's!

Dave is a director and photographer; He uses this space to shoot portraits, mostly. I use it to style and shoot products for clients and blog/instagram work. Dave and I also work together, either on location or from home, styling and shooting products and still life for clients. I am going to share more about how we work together and what we do in another blog post.
The room needed to serve a few functions:
Be a comfortable place from which we can both work at our desks: editing, emailing, writing etc. One or both of us works in here most days.
Have a large clear space in which to do photoshoots in, and also to put a spare bed in.
Have storage for all of our photography equipment, styling bits, and general study storage- paperwork and craft supplies.
We wanted to use what we had already as much as possible and keep expenditure minimal.
The room needed to also be beautiful, calm and inspiring.

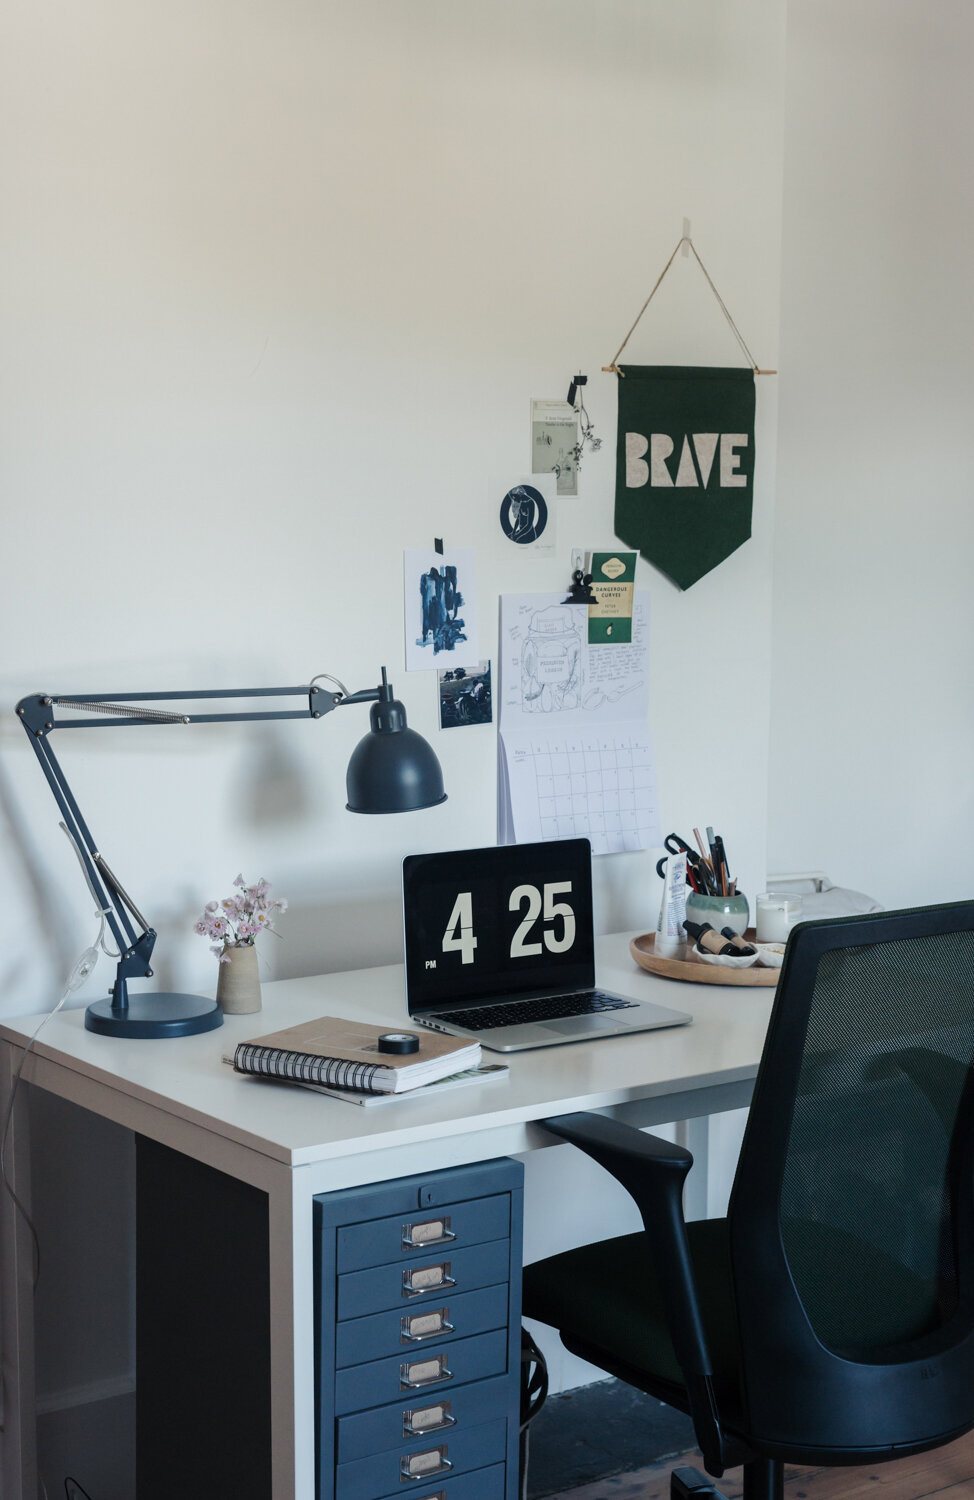
Desk space:
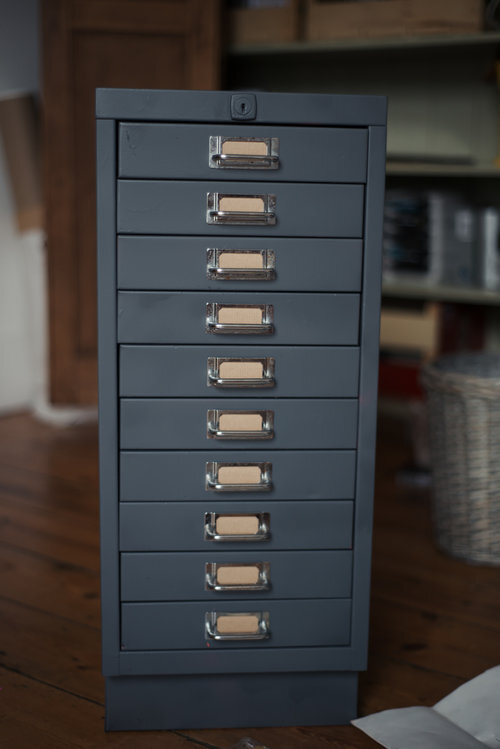
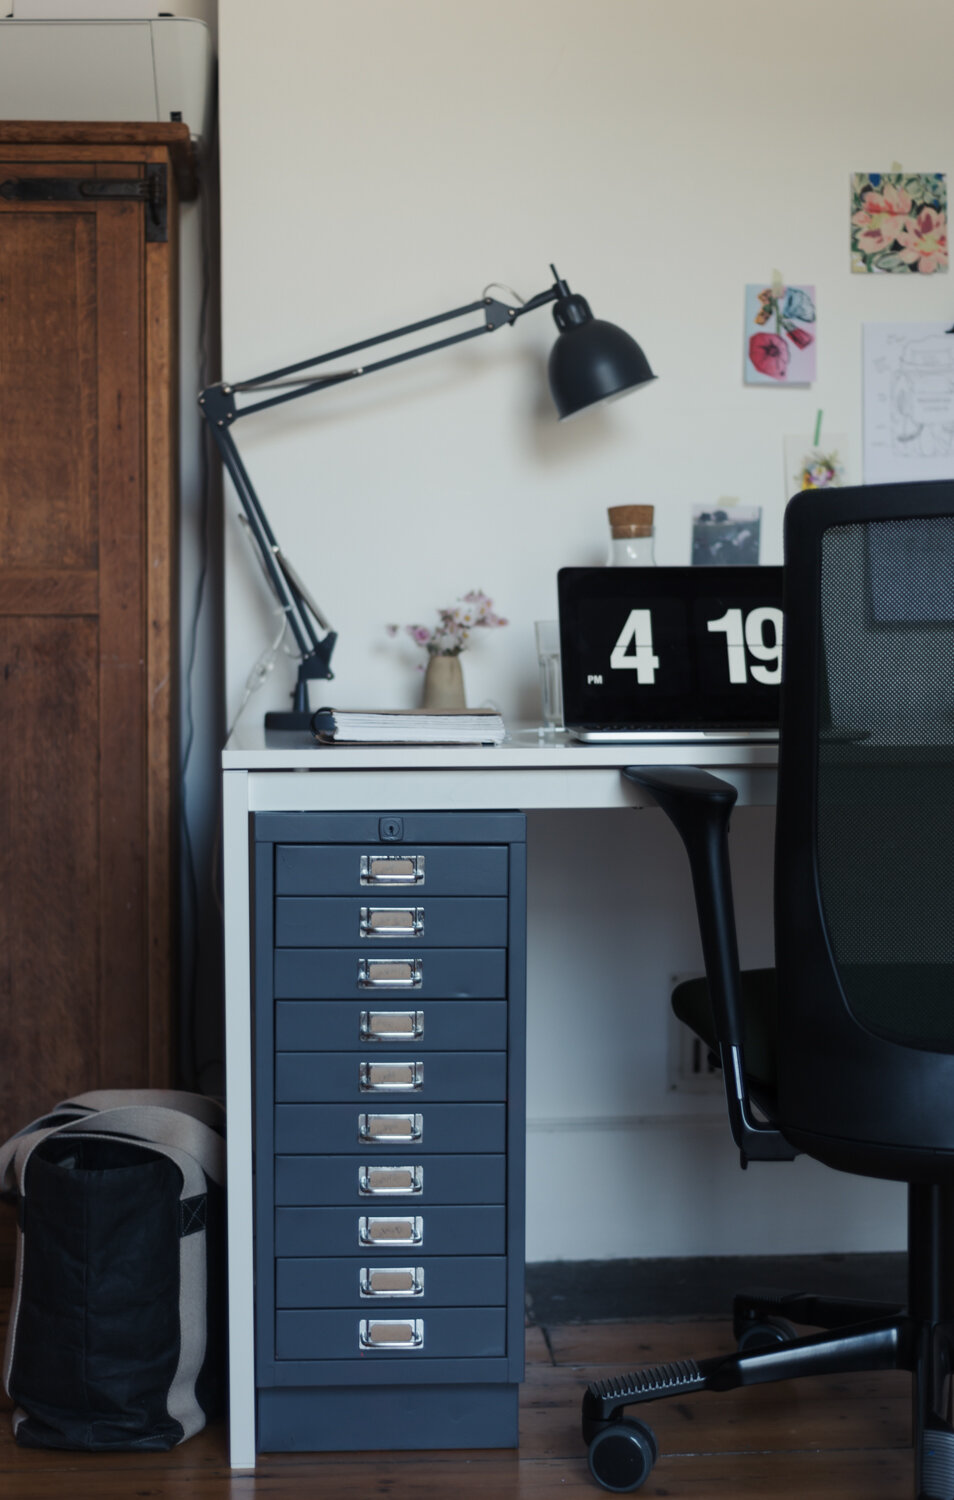
We used the Ikea desks we bought 4 years ago as they are still in really good condition. We each have a small filing cabinet to store our things- one is vintage which I spray painted grey, and the other is Ikea, bought a few years ago.
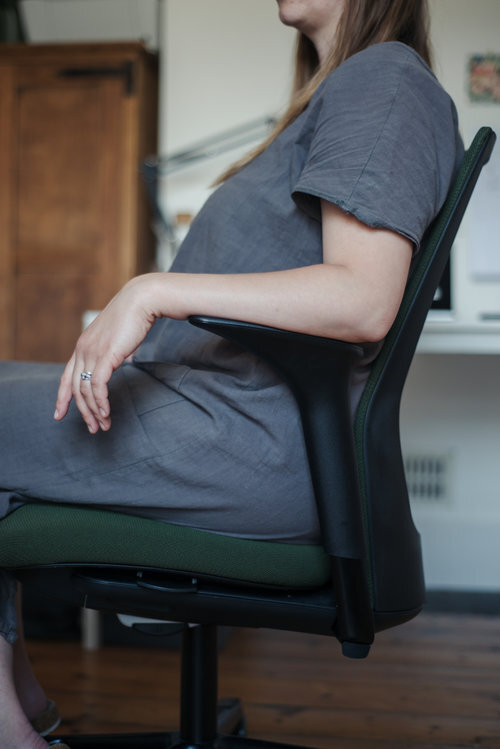
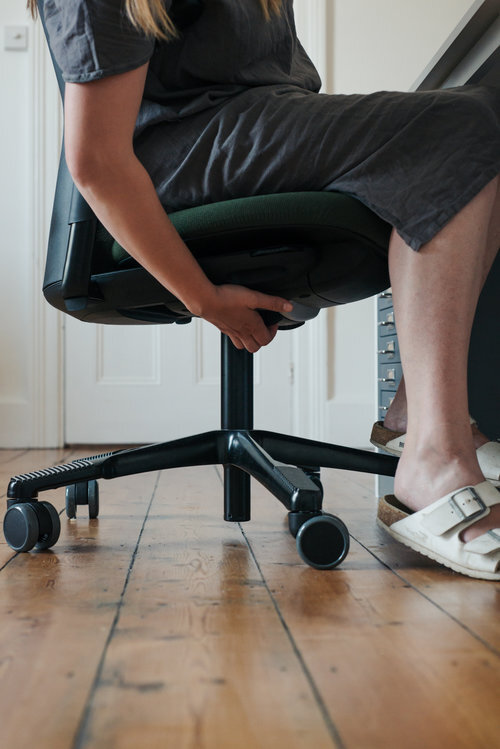
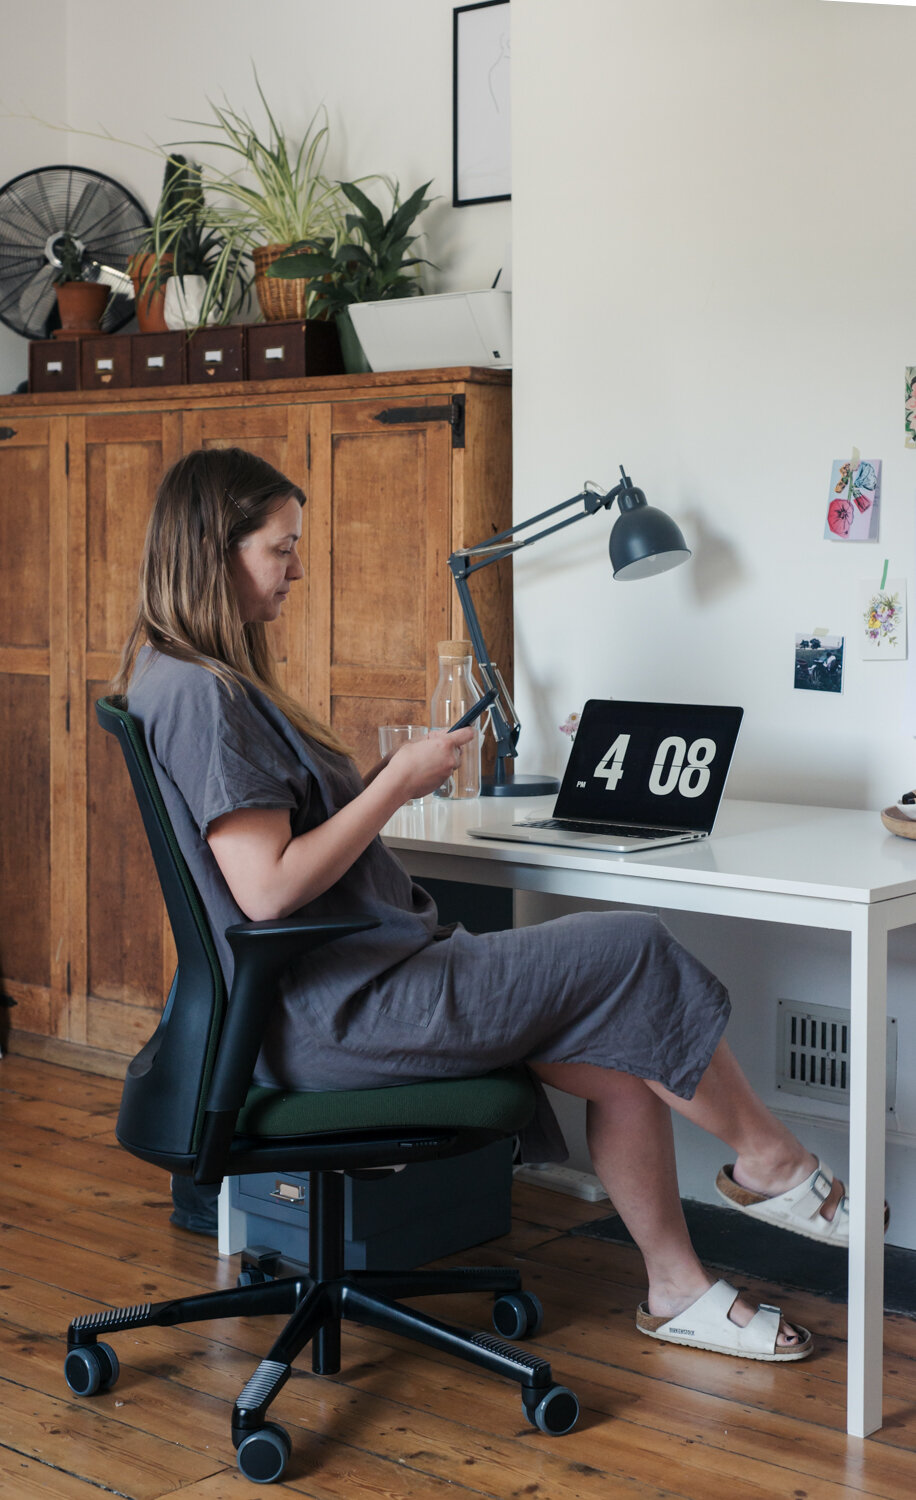
We have also upgraded our chairs to two Flokk Futu Mesh office chairs, and ooh my, let me tell you about these chairs.

HÅG Futu Mesh office chairs:
Our office chairs are the single biggest change to the way this room feels to use. The chairs are brilliant: beautifully designed and incredibly comfortable to sit on. They are made in Norway and engineered precisely; all technical parts are integrated into its shape, making it more streamlined. Dave has a twisted spine and has felt so much more comfortable since switching to a properly supportive chair. You can adjust every part of the chair to suit your body, and it is designed so that you always sit in balance. This means you can tilt backwards and forwards with ease, enabling you to naturally shift position. Foot rests encourage legs to stay active so overall it results in better blood circulation. The colour of the chairs set the accent colour of the room, and it feels like such a lovely rich colour to have in a workspace. The chairs also come with a 10 year guarantee so they are super long lasting and have also won lots of environmental awards too. Literally every box is ticked, for us!

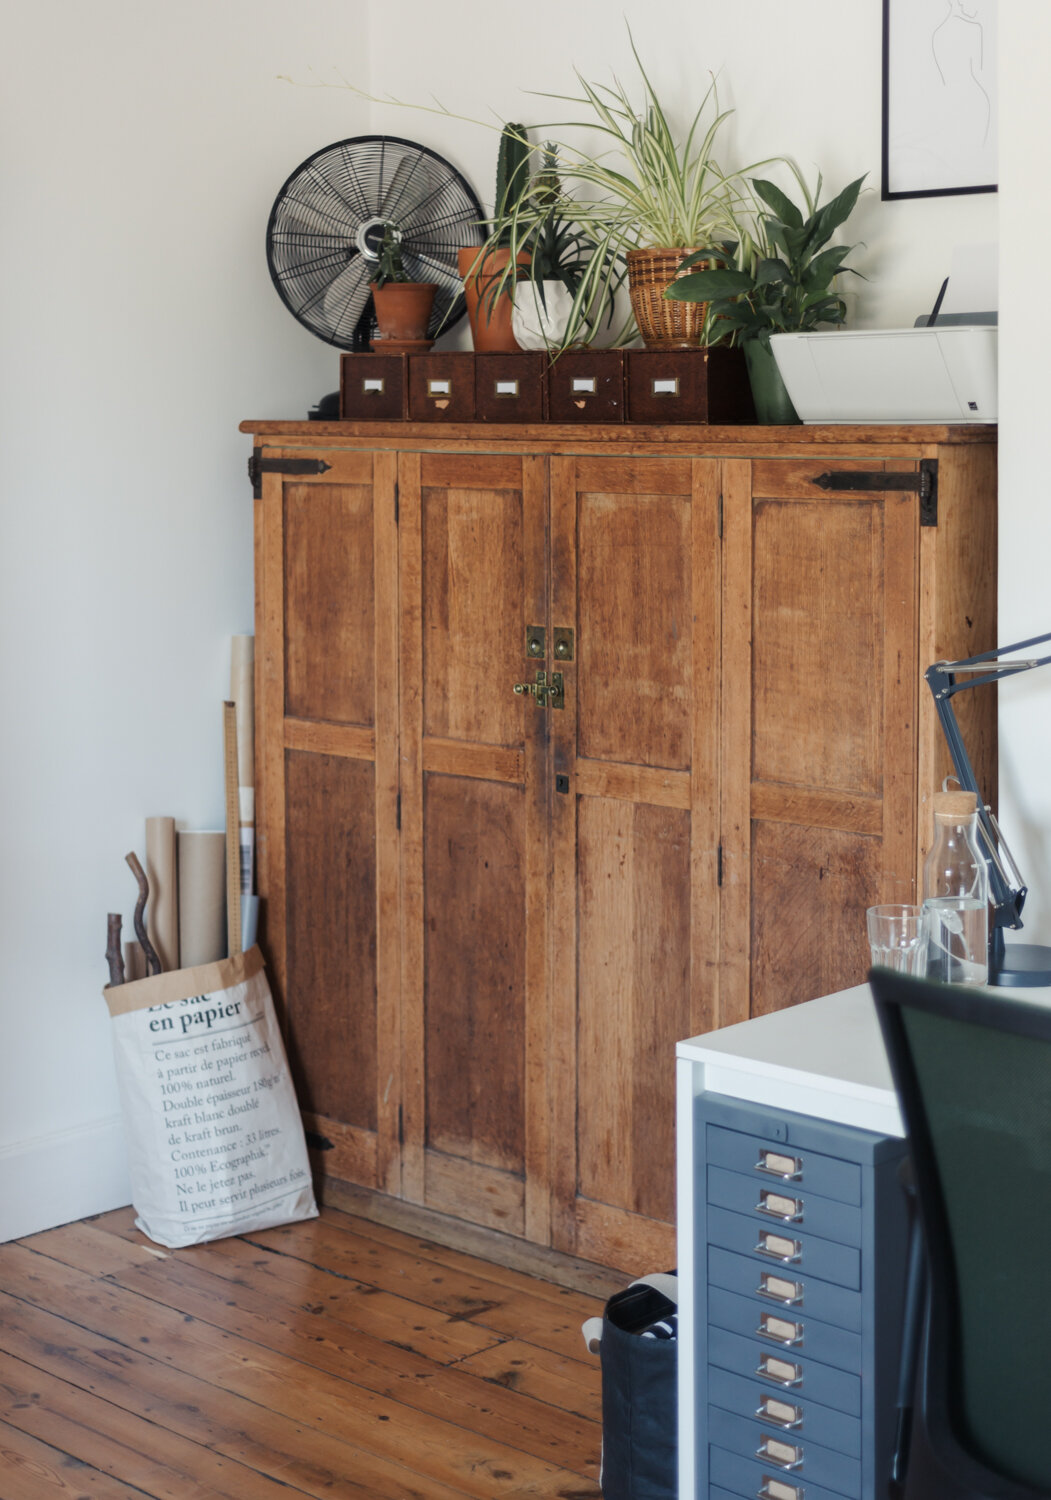
Storage space:
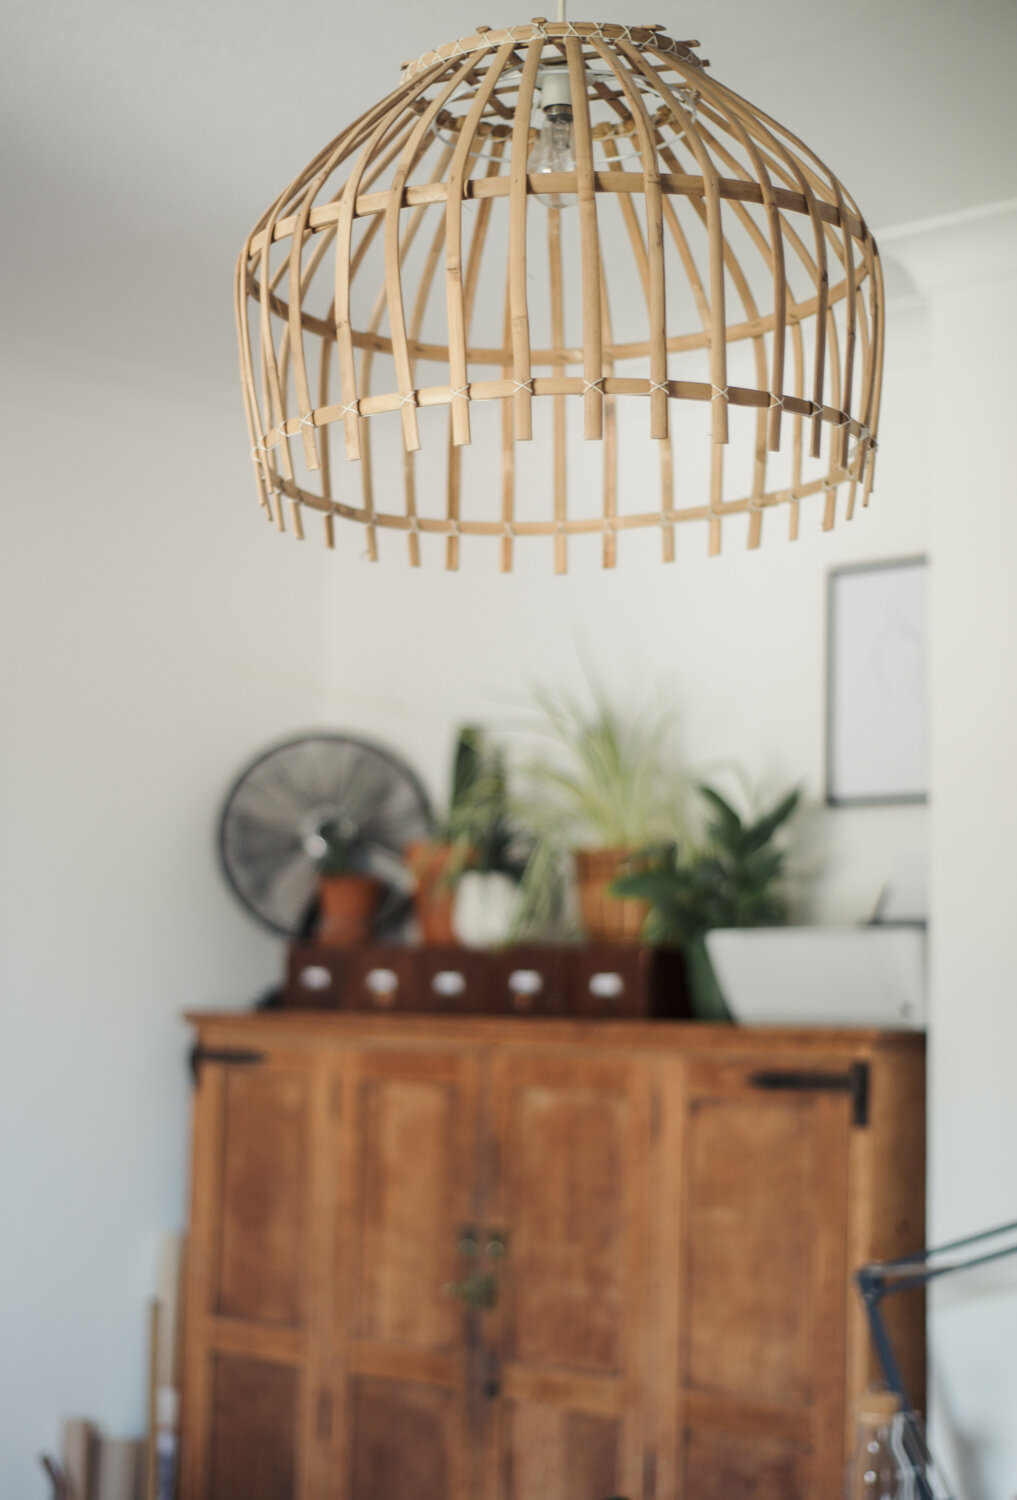
We used a vintage school cupboard which came with the house (I know!) in here and topped it with plants and our printer. In here we store craft materials, photo developing stuff, Dave's portfolio bits, his prints, and paperwork. We each have a mini filing cabinet which we store stationary, cables etc too.


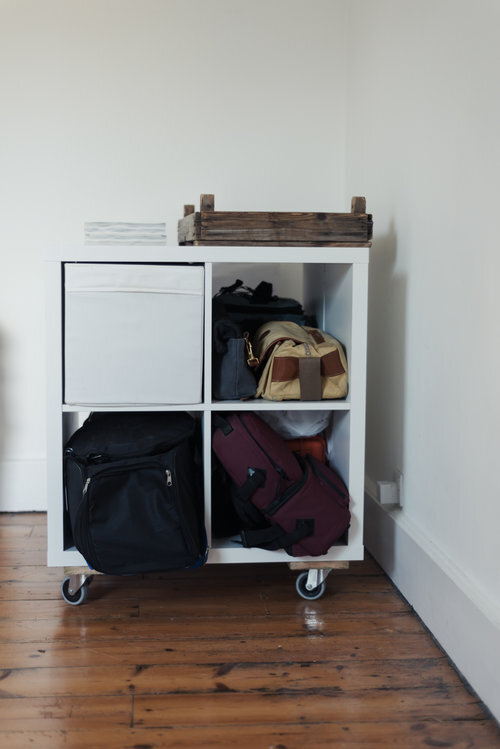
We needed a place to store all our photography bits but needed to keep the end of the room free for shoots. Our solution was to use 2 Ikea kallax shelves bolted together and mounted onto casters. This means we can easily move it around the room, and means our photography equipment is accessible when we need it.
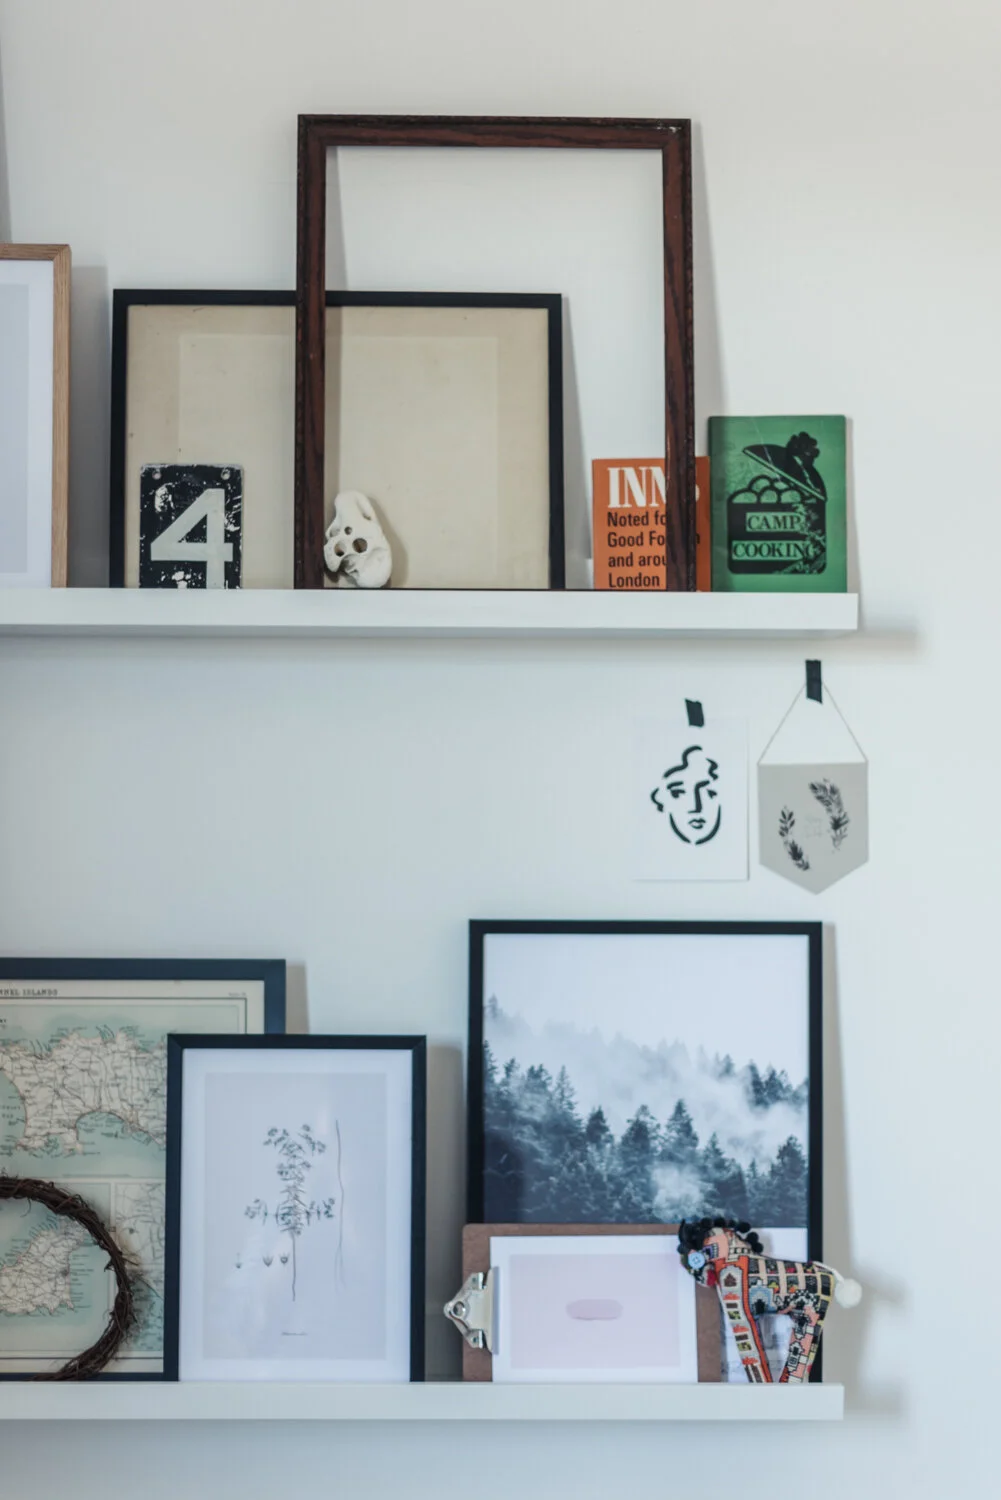
Display space:
We both like having inspirational art, magazines, kid art, photo’s, and nick knacks on display in our workspace. In our old house, we had one small Ikea picture rail above each desk, but in this new space, I needed to keep the area above my desk relatively clear for photoshoots. So, partially inspired by Cate St Hill (a fave interiors blogger) we used two long picture rails on the wall near Dave’s desk. On this we put art and other inspirational bits and pieces; very satisfying to play and faff with.
We have quite a few plants in here, like in every room in our house, because they add life and texture and purify the air. They also work with my colour scheme, perfectly!
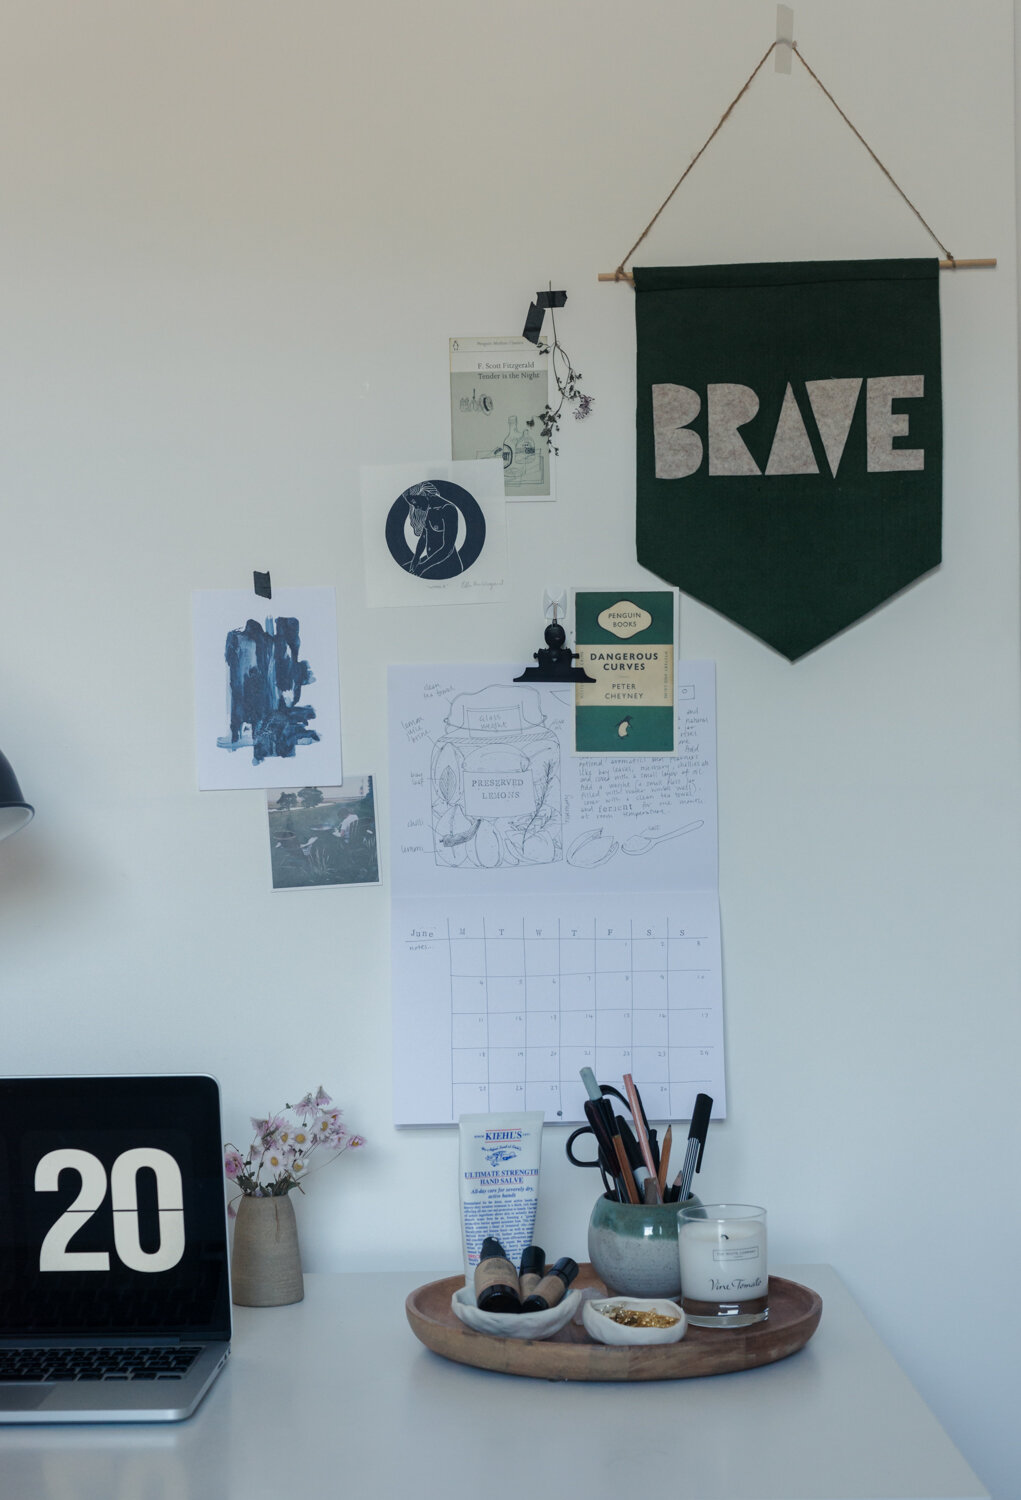
The area around my desk needs to be used for photo shoots so everything has to be relatively temporary. Above my desk I have used a combination of washi-tape and command hooks to create a small display of current favourite images and postcards which is very easy to remove should I need too. I use a laptop, rather than a computer, and generally keep my desk clear. I recently had a huge sort out of my documents and paperwork. Now, all my stationary is in my filing cabinet (freshly re spray-painted a dark grey) or in the school cupboard. On my desk I have my laptop, a lamp, my current notebook and diary and few desk essentials on a wooden tray (I love my Bohobo Aromatherapies pulse points and room sprays). This means I can totally clear my desk and use my table as a shooting surface in about one minute.

We use a White board to plan each week- you can see it on the shelf here in the bottom left corner of the shelves. Crucial when neither of us has set schedules and are also juggling kids!
A summary of the work:
Decluttered like nobodies business. This was by far the biggest work- and the least photogenic! We burnt huge piles of old paperwork, and gave away a lot of stuff. I bought a new accordion paper file (our old one had perished) and put remaining important documents in there. Every drawer was emptied and sorted through. Our cupboards are now organised and usable and not bursting at the seams.
Replaced previously rubbish chairs with 2 beautiful Flokk office chairs.
Sorted through all camera equipment and cables and created easily accessible places for everything.
Replaced beige curtains with dark grey curtains we already owned (Ikea- from the old study but they work really well in here too)
Spray painted my filing cabinet dark grey. (I didn’t want to buy a new one)
Put 2 long picture ledges up on the wall by Dave’s desk (from eBay- did you know you can get lots of Ikea bits on eBay?!)
Put up a light fitting we already owned.
Added plants and art.
We did this over about 6 weeks, in the time we could find whilst being with our kids. This meant snatching an hour or two here and there. Patience is key when it comes to DIY-ing with kids! We stuck to the brief really well too; the room feels gorgeous and is also super practical too. We made use of what we already had and spent very little money. The chairs were a gift as part of our collaboration, so we only bought a couple of new art prints from Desenio, spray paint for the filling cabinet, and two Ikea picture rails from eBay.
Still to do:
Put my desk on castor wheels to make it even easier to move.
Find a better solution for cables behind Dave’s desk. He has a lot of hard drives and lots of messy cables back there There must be a good solution to this issue which is also not really ugly!Suggestions very welcome. We are considering bolting a ply box on the side of the desk with holes in for the extension cable.
Continue to buy equipment for the photo studio- we may attach hooks to the wall from which to hand colourama or different backgrounds.
Source a separate wooden folding trestle table to shoot on, in ply or vintage wood.
So, there you have it! Our multi functional office/studio space. We love this room and we feel so grateful to have a space in which to do photoshoots too. I talked about the importance of 'scene setting' in this blog post, and having a beautiful space set up and ready for writing and shooting is a wondrous thing for creativity and productivity. Both of us just want to be in this room!
Links and sources:
Spray paint on small filing cabinet is Mat grey- Plasticote
Desks, Picture ledges, Dave’s White filing cabinet, and the Kallax shelves- Ikea
Light fitting (actually a basket, no longer in stock) Workshop Living
Desk lamps are old but originally from Urbanara
Some art is from Deseniothe rest is vintage
Pulse points and room sprays a gift - Bohobo Aromatherapies
My filing cabinet and the school cupboard are vintage.
if you want to know where anything else is from, please just shout in the comments.
This is a collaborative post with Flokk.
In My work, Soulful Homes, My home